26
MAR
2026
The expectations of modern kitchens have shifted considerably. Clients — whether in luxury residential builds or high-end commercial projects — expect countertop surfaces that look like a single, uninterrupted plane of material. No visible joints. No mismatched patterns. Just clean, continuous lines that elevate the entire space.
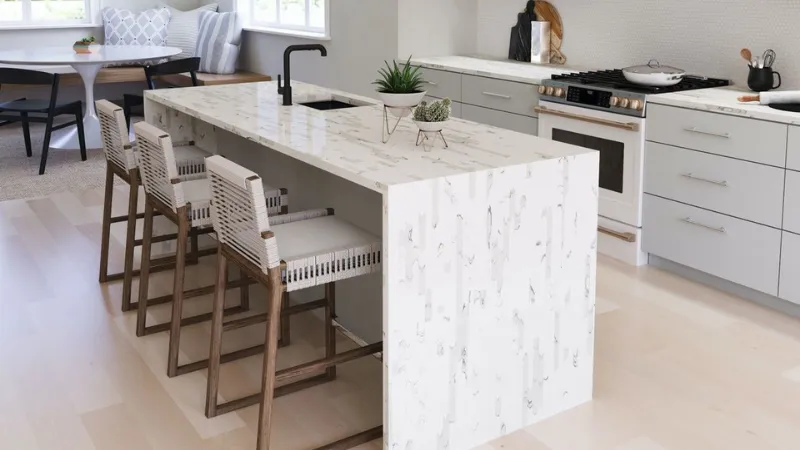
This is precisely why the jumbo quartz slab seamless countertop has become the go-to solution for serious fabricators and contractors. Traditional slabs often require multiple pieces across wider kitchen runs, introducing joints that compromise both aesthetics and hygiene. Jumbo-format slabs — typically measuring 3200 x 1600 mm or larger — change that equation entirely.
But large-format material demands large-format precision. Getting the installation right requires a disciplined, step-by-step process, the right tools, and an understanding of how quartz behaves differently from natural stone. This guide walks through every stage — from site inspection to final polish — the way professionals do it.
Quartz is an engineered material: roughly 90–93% natural quartz particles bound with polymer resins and pigments. This composition gives it two properties that matter enormously during installation.
First, it is completely non-porous. Unlike granite or marble, it does not absorb adhesives unevenly or react to moisture in the substrate. This consistency makes bonding behavior more predictable — but it also means surface prep and adhesive selection are non-negotiable, not optional.
Second, quartz is dimensionally stable but not infinitely rigid. Jumbo slabs have significant mass, and any unsupported span or uneven base will telegraph stress into the slab over time, potentially causing micro-cracking at seam points. Marble requires sealing but is more forgiving structurally; granite has more natural variation to hide minor imperfections. Quartz does not hide anything — flatness and support are absolute requirements.
Tools and Materials Required
Before any cutting begins, ensure the following are on-site and ready:
Cutting and Fabrication
Measurement and Leveling
Adhesive and Seaming
Safety
Templating is the single most consequential step in the entire process. Errors here compound at every subsequent stage.
Visit the site after cabinet installation is complete and walls are finished. Use digital templating tools or hand-cut MDF templates to capture the exact geometry of the countertop run — including wall irregularities, out-of-square corners, and appliance cutout positions. Never assume a 90-degree corner is actually 90 degrees.
Common errors at this stage: measuring before cabinets are fully anchored (they shift), not accounting for backsplash depth, and underestimating sink or cooktop cutout tolerances.
Quartz countertops require a continuous, level support surface. Most modern cabinet carcasses provide this, but any deviation above 3mm across a span needs to be shimmed or leveled before the slab goes down.
Check that the cabinet tops are structurally sound — quartz is heavy, particularly in jumbo dimensions. A 3200 x 1600 x 20mm slab can weigh upward of 120–130 kg. Cabinets must be wall-anchored and level, not just floor-standing.
For a jumbo quartz slab seamless countertop application, pattern planning is critical. Even engineered quartz with veining or aggregate patterns has directionality. Lay out all pieces on the slab before cutting to confirm pattern flow across seam positions and that cuts don't fall awkwardly through a prominent design element.
For L-shaped or U-shaped kitchens, plan which piece covers which run, minimizing seams and placing any unavoidable seams away from high-traffic zones (away from sink areas and cooktop fronts where impact and moisture are concentrated).
All cuts should be made with a wet bridge saw to minimize edge chipping and manage silica dust. Use the templates to mark cut lines precisely.
Edge profiling is done at this stage — before installation, never after. Common profiles include eased, beveled, bullnose, and ogee. CNC routing delivers the most consistent results across multiple pieces. After profiling, polish edges progressively through diamond grit stages to match the factory surface finish.
Sink and cooktop cutouts should be made with a router using a template guide, not a jigsaw, for clean interior corners.
Before any adhesive is applied, place all pieces dry on the cabinets and verify fit. Check seam gaps, corner alignments, and overhang consistency around the perimeter. Adjust where needed.
This step catches templating errors before they become permanent. Time spent here saves time — and material — later.
Apply two-part epoxy adhesive to the cabinet tops in a consistent bead pattern — typically parallel runs spaced 200–250mm apart. Avoid full coverage, which traps air and creates uneven support.
Use suction cup handles for placement; do not drag slabs into position once adhesive is applied. Lower the slab straight down onto the adhesive, then use seam setters for fine adjustments. Work quickly but deliberately — epoxy pot life varies by product but is typically 20–30 minutes at ambient temperature.
This is the most technically demanding step in seamless quartz countertop installation, and it is where the quality difference between average and excellent work is most visible.
Seams between slab sections must be closed with color-matched polyester resin. Apply resin to both edges, bring pieces together using seam clamps, and clean excess immediately. When cured, the resin fills the gap to a near-invisible line — but only if the edges were properly finished and the colors are matched precisely.
The resin color should be mixed and tested on a sample piece before application on the installation. Minor pigment adjustments are far easier at that stage than trying to address a visible seam after curing.
Learn more about achieving flawless finishes in our guide on Transform Your Kitchen with Seamless Quartz Countertops.
Once adhesive and seam resin have fully cured (typically 24 hours), do a final inspection across the entire surface. Check seam lines under raking light — this will expose any inconsistencies invisible under flat ambient lighting. Polish any seam areas that need refinement using fine-grit diamond pads.
Verify overhang dimensions, check that cutout edges are smooth and chip-free, and confirm appliance fitting before sign-off.
Inaccurate templating leads to gaps, overcuts, and misaligned seams. Fixing these after installation is expensive — often requiring new slab sections.
Wrong adhesive choice — using silicone instead of structural epoxy — results in slab movement over time. Silicone is appropriate for perimeter sealing, not structural bonding.
Uneven base surfaces cause long-term stress fractures, especially in large-format slabs with less inherent flex. This often appears months after installation as hairline cracks near seam points.
Poor seam resin color matching turns an otherwise excellent job into one that clients will always notice. Invest in proper color-matching; it is a small cost against total project value.
The shift toward large format quartz slabs is not an aesthetic trend — it is a technical upgrade. With slabs in the 3200 x 1600 mm range, most standard kitchen countertop runs can be completed in a single piece or with minimal joining, eliminating the seam management challenge entirely on smaller kitchens.
For larger kitchens and island configurations, fewer seams mean faster installation, less resin work, and a dramatically cleaner final result. Luxury project clients increasingly specify seamless surfaces as a baseline requirement, not a premium option. Fabricators who can deliver this reliably — and efficiently — hold a genuine competitive advantage.
For contractors and fabricators operating at volume, supply chain consistency matters as much as material quality. Evaluate suppliers on:
Dimensional consistency — jumbo slabs need to arrive at specified dimensions, with tolerances tight enough that templates translate directly to cut pieces without manual adjustment.
Batch matching — for large projects requiring multiple slabs, color and pattern consistency across batches is critical. Request samples from the specific batch before committing.
Logistics capability — large format slabs require appropriate handling equipment throughout the chain. A supplier who understands slab transport, crating, and site delivery reduces breakage and project delays.
Technical support — suppliers who can speak to installation specifics, adhesive compatibility, and edge finishing parameters are genuinely useful partners, not just vendors.
How thick should quartz countertops be for kitchen applications?
20mm is standard for most residential and light commercial kitchens. 30mm is preferred for high-end applications, island overhangs beyond 200mm, and where a more substantial visual presence is desired. Anything below 15mm requires full-surface substrate support and is not recommended for kitchen use.
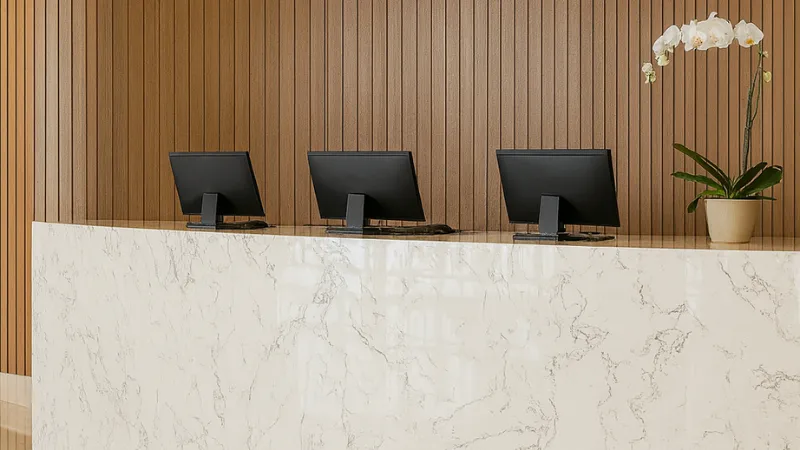
Can quartz countertops truly be installed without visible seams?
With jumbo-format slabs and proper resin color-matching, seams can be reduced to near-invisible. On smaller kitchens, a single slab will cover the entire run with no seams at all. On larger installations, precise edge finishing and resin matching keep seams minimal. The key is planning seam placement during the layout stage, not trying to minimize them after cuts are made.
What is the realistic lifespan of a properly installed quartz countertop?
Quartz surfaces installed correctly on a level, well-supported base will last 20–25 years with normal use, often significantly longer. The material itself does not degrade; failure, when it occurs, is almost always traceable to installation issues — inadequate support, incorrect adhesive, or stress concentrations at poorly executed seams.
Can quartz be installed directly over existing countertops?
Not recommended in professional applications. The existing surface may have height inconsistencies, and the combined weight can exceed cabinet load ratings. Always remove existing countertops and work from a verified level substrate.
Quartz countertop installation at a professional level is a precision process. The material rewards good preparation and disciplines every shortcut. Getting the template right, leveling the base correctly, planning cuts from the right sections of a jumbo slab, and executing seam joining with matched resin — these are the steps that separate installations clients remember positively from ones they reference as problems.
As seamless kitchen countertops become a default expectation in modern residential and commercial projects, the fabricators and contractors who master large-format quartz installation will find themselves consistently ahead of market demand. The technical foundation is straightforward. Executing it consistently is the professional differentiator.

Whatsapp Chatx
Hi! Click one of our representatives below to chat on WhatsApp or send us email to sales@paradigmquartz.in
 |
Contact Us +91 99440 00900 |